Activity
Marbled Paper
Kids can’t resist a mess—and parents can’t resist an opportunity to sneak in a little learning over the summer. This fun marbled paper craft uses things you’re likely to have around your house, and it teaches kids some simple chemistry too!
Grade
Subject
Thank you for your input.
What You Need:
- Cardstock or thick paper
- Large pans or cookie sheets
- Toothpick or craft sticks
- Shaving cream (not gel!)
- Spatula
- Food coloring*
*Remember that food coloring can stain!
What You Do:
- Spread a thin layer of shaving cream in the bottom of your pan, and even it out with the spatula.
- Add drops of food coloring on top of the shaving cream. Try to space them evenly and leave some white space in between—too much white space, and your paper will have no design, but too much food coloring, and your colors may smear.
- Drag your toothpick or craft stick in loops and swirls through the shaving cream to make patterns. Be careful not to over-blend or your colors could get murky.
- Take your piece of cardstock or paper and press it into the shaving cream lightly so that the entire surface is covered. Make sure to not press too hard, or your paper will take a big blob of shaving cream with it.
- Remove your shaving cream-covered paper and lay it on a flat surface, such as a craft table or cookie sheet. Using the spatula, scrape off the layer of shaving cream. Scraping away the shaving cream will leave a beautiful marbled design on your paper.
- Allow your paper to dry flat. Once dry, your marbled paper can be used as stationery or cut into paper ornaments.
So how does it work? Shaving cream contains soap, which is both hydrophilic and hydrophobic—it attracts and repels water. And food coloring is water, plus a little dye. That means that the dye will remain mostly suspended in the shaving cream. Adding paper is when the real action happens. Paper contains cellulose, a material that is hydrophilic (attracts water), so the dye will transfer from the shaving cream to the paper easily.
Related learning resources

Paper Cone Model
Worksheet
Paper Cone Model
Here's an interesting paper project for young mathematicians: creating a 3-D paper cone.
2nd grade
Math
Worksheet
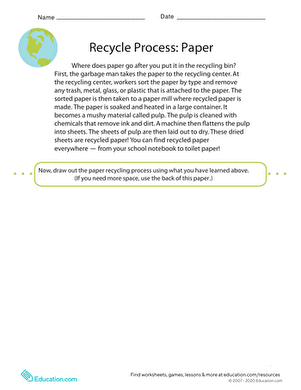
Recycling Paper Process
Worksheet
Recycling Paper Process
How do you make recycled paper? Learn all about the recycling paper process on this informative worksheet.
2nd grade
Science
Worksheet

Make Recycled Paper
Activity
Make Recycled Paper
Have fun making recycled paper using scraps of used paper in your home with this hands-on project.
1st grade
Activity
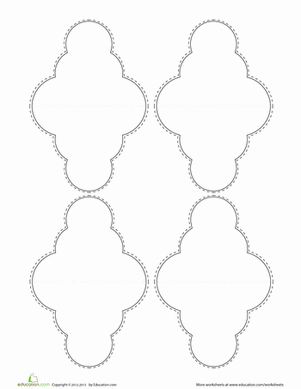
Paper Clouds
Worksheet
Paper Clouds
Create your own 3D paper clouds with these simple cut-out templates.
2nd grade
Arts & crafts
Worksheet
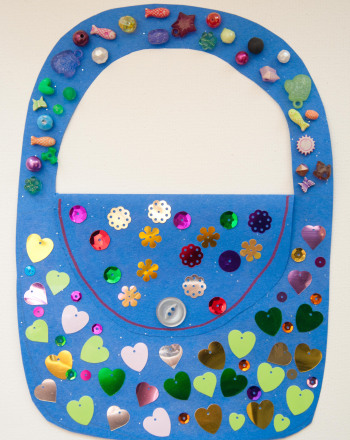
Paper Purse
Activity
Paper Purse
Covered in patterns and reflective texture, this paper purse is sure to stand out!
2nd grade
Arts & crafts
Activity
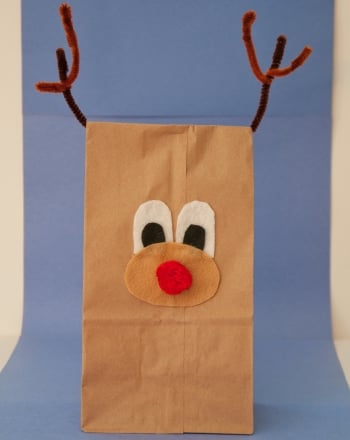
Paper Bag Reindeer
Activity
Paper Bag Reindeer
Paper bag reindeer are perfect for handing out holiday goodies in style. Make a paper bag reindeer with your child this Christmas season.
2nd grade
Arts & crafts
Activity

Weave a Paper Basket
Activity
Weave a Paper Basket
Your child can use colorful construction paper to make an easy paper basket to hold some of his special things!
2nd grade
Arts & crafts
Activity
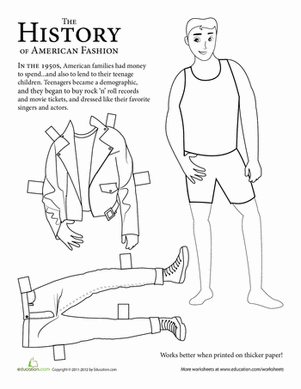
Paper Doll Boy: 1950s
Worksheet
Paper Doll Boy: 1950s
Give her a fun paper craft with this historical fashion paper doll!
2nd grade
Social studies
Worksheet

Clown Paper Doll
Worksheet
Clown Paper Doll
If your child loves to entertain, she'll certainly love this clown paper doll.
2nd grade
Worksheet
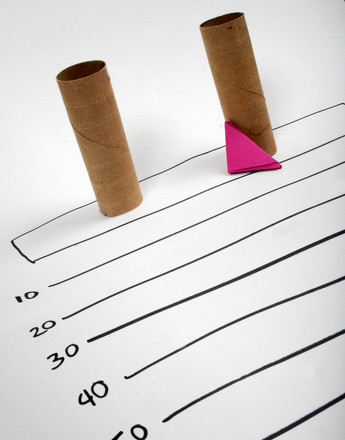
Paper Football
Activity
Paper Football
Take paper football to the next level by creating a "field" with objects from around the house. A great indoor and rainy-day activity.
2nd grade
Math
Activity
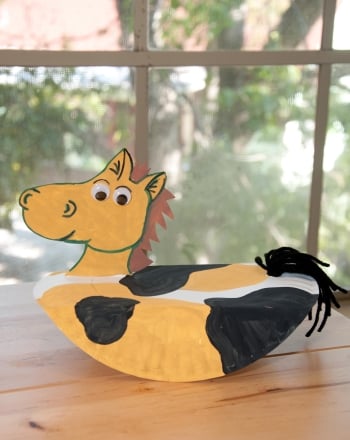
Paper Horse
Activity
Paper Horse
Check out this dynamic paper rocking horse perfect for wild west fans or anyone who ever wished they could ride into the sunset.
2nd grade
Arts & crafts
Activity

Historical Paper Doll: 1900s
Worksheet
Historical Paper Doll: 1900s
Enjoy a fun paper craft coloring and cutting out this paper doll.
2nd grade
Social studies
Worksheet
See this activity in a set:
Mad Scientist

