Science project
Specific Heat of Water vs. Specific Heat of Sand

Your feet may already know what specific heat is: Your toes felt nice and cool in the ocean on a summer day. Then, you decided to walk barefoot to the ice cream stand. The sand was much warmer than the ocean. The last part of the walk was the paved parking lot. Ouch! That black asphalt was hot. Your feet made you promise to throw on some flip flops next time.
Why, on the same day, are the temperatures of water, sand, and asphalt so different? Specific heat is the key. Specific heat is how much heat energy is needed raise the temperature of a substance. Water has a very high specific heat. That means it needs to absorb a lot of energy before its temperature changes. Sand and asphalt, on the other hand, have lower specific heats. This means that their temperatures change more quickly. When the summer sun shines down on them, they quickly become hot. In this experiment, you will use a light to add heat to samples of sand and water. Using a thermometer, you will be able to measure how much the temperature of each changes in a given amount of time.
Problem
How can the specific heats of different substances be observed and measured?
Materials
- Desk lamp
- Box
- Box cutter or scissors
- 2 non-paper cups
- 2 thermometers
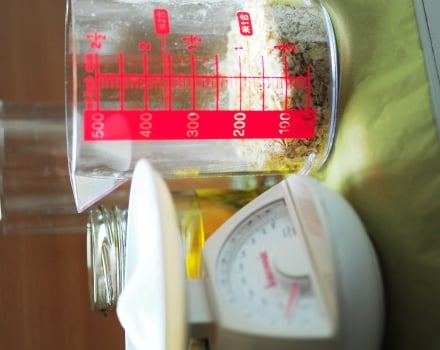
- Sand
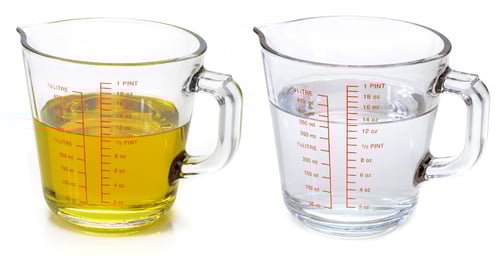
- Water
Procedure
- Have a grown-up help you cut off one side of the box. You want to keep the heat energy of lamp enclosed in the area of your experiment as much as possible.
- Fill one of the cups with sand and the other with water at room temperature.
- Place the cups side by side in the bottom of the box.
- Place the lamp behind the box and tilt the head so that when you turn it on, the light will shine down towards the cups. The bulb should be an equal distance away from each cup. Why is this important?
- Do not turn your lamp on yet.
- Place a thermometer about one inch into the sand. Place a second thermometer about one inch into the water.
- Record the initial temperatures of the sand and water in a data table similar to the following.
|
Time in Minutes |
Temperature Water |
Temperature Sand |
|
0 |
|
|
|
2 |
|
|
|
4 |
|
|
|
6 |
|
|
|
8 |
|
|
|
10 |
|
|
|
12 |
|
|
|
14 |
|
|
|
16 |
|
|
|
18 |
|
|
|
20 |
|
|
- Turn on the light.
- Record the temperature of both the sand and water every two minutes for at least 20 minutes. Be careful that the cups don’t melt under the light bulb. If the temperatures don’t seem like they’re changing very much, try moving the light closer to the cups or using a light bulb of higher wattage.
Results
The sand will get warmer faster than the water.
Why?
It was important to make sure that the light was the same distance from the sand and water because you wanted each cup to receive the same amount of energy from the light. This is a controlled experiment, and the only variable you want to test is type of substance in the cup. Part of the reason the sand got hotter faster is because the specific heat of sand is lower than the specific heat of water. That’s why it took less light energy to change its temperature.
Going Further
What other properties determine how fast a substance heats up? Try the same experiment with light and dark rock, or different types of liquids. You might also do the experiment in reverse, measuring how different substances cool over time.
Education.com provides the Science Fair Project Ideas for informational purposes only. Education.com does not make any guarantee or representation regarding the Science Fair Project Ideas and is not responsible or liable for any loss or damage, directly or indirectly, caused by your use of such information. By accessing the Science Fair Project Ideas, you waive and renounce any claims against Education.com that arise thereof. In addition, your access to Education.com's website and Science Fair Project Ideas is covered by Education.com's Privacy Policy and site Terms of Use, which include limitations on Education.com's liability.
Warning is hereby given that not all Project Ideas are appropriate for all individuals or in all circumstances. Implementation of any Science Project Idea should be undertaken only in appropriate settings and with appropriate parental or other supervision. Reading and following the safety precautions of all materials used in a project is the sole responsibility of each individual. For further information, consult your state's handbook of Science Safety.
Related learning resources